Are you the proud owner of a vintage vanity table that has seen better days? Are you looking to breathe new life into this timeless piece of furniture? Whether you inherited it from your grandmother or stumbled upon it at an antique store, transforming a 1942 vanity table can be a rewarding and creative project. In this article, we will guide you through the process of rejuvenating your cherished vanity table and turning it into a stunning focal point for your space.
Vintage furniture holds a special charm and history, and a 1942 vanity table is no exception. This article will provide you with step-by-step guidance on how to revive and revitalize your vanity table, allowing you to enjoy its beauty and functionality for years to come.
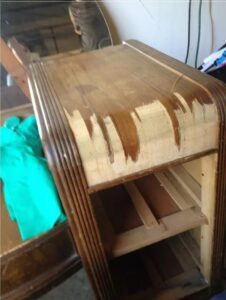
Assessing the Condition of Your Vanity TableBefore you embark on the restoration journey, carefully examine your vanity table’s condition. Take note of any scratches, dents, or missing components that require attention. This assessment will help you determine the extent of the restoration needed.
Choosing the Right Restoration ApproachDepending on your vanity table’s condition, you can opt for a full restoration or a more minimalist approach that preserves its vintage charm. Your choice will influence the techniques and materials you use throughout the process.
Preparing the Work AreaCreating a suitable workspace is essential for a successful restoration project. Clear a well-ventilated area and gather the necessary tools, including safety equipment, sandpaper, paintbrushes, and cleaning supplies.
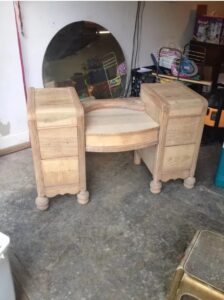
Stripping and Sanding the Vanity Table
To reveal the beauty hidden beneath layers of paint and varnish, start by carefully stripping the old finish. Sand the surfaces to achieve a smooth and even texture, preparing the vanity table for the upcoming restoration steps.
Repairing and Replacing Hardware
Inspect and repair or replace any damaged or missing hardware, such as drawer pulls, knobs, and hinges. Choosing hardware that complements the table’s era can enhance its authentic appearance.
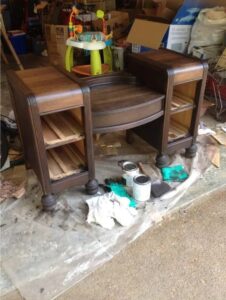
Selecting the Perfect Finish
Choosing the right finish is crucial for achieving the desired aesthetic. Whether you prefer a natural wood look, a distressed finish, or a vibrant color, selecting the appropriate paint or stain will play a significant role in the final outcome.
Fans spot worrying detail in new photo of Martha Stewart, 82 – and everyone’s saying the same thing
When we think of powerful and successful women, one of the names that comes to mind is that of Martha Stewart.
Besides being a well-known TV personality, she’s also a self-made billionaire, a writer, a businesswoman, and a former fashion model.
Being 82 doesn’t stop this incredible woman from living her life to the fullest.
Last year, she posed for the cover of Sports Illustrated in daring swimsuits and attracted the attention of many. She was praised for her bravery, her incredible figure, and the positivity she spread.
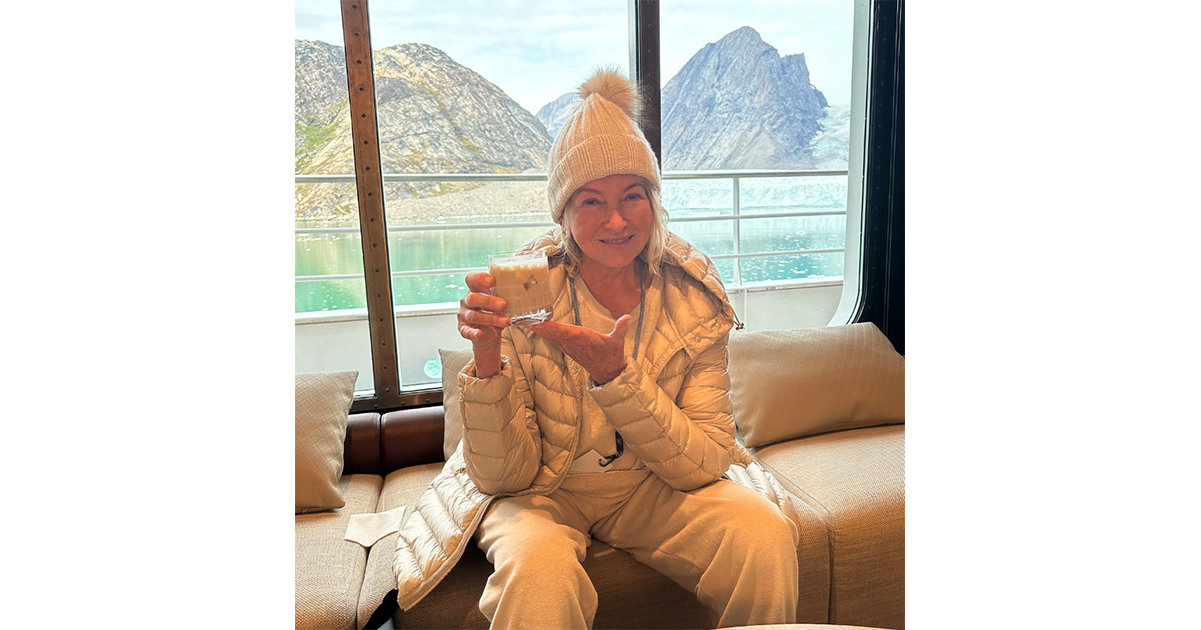
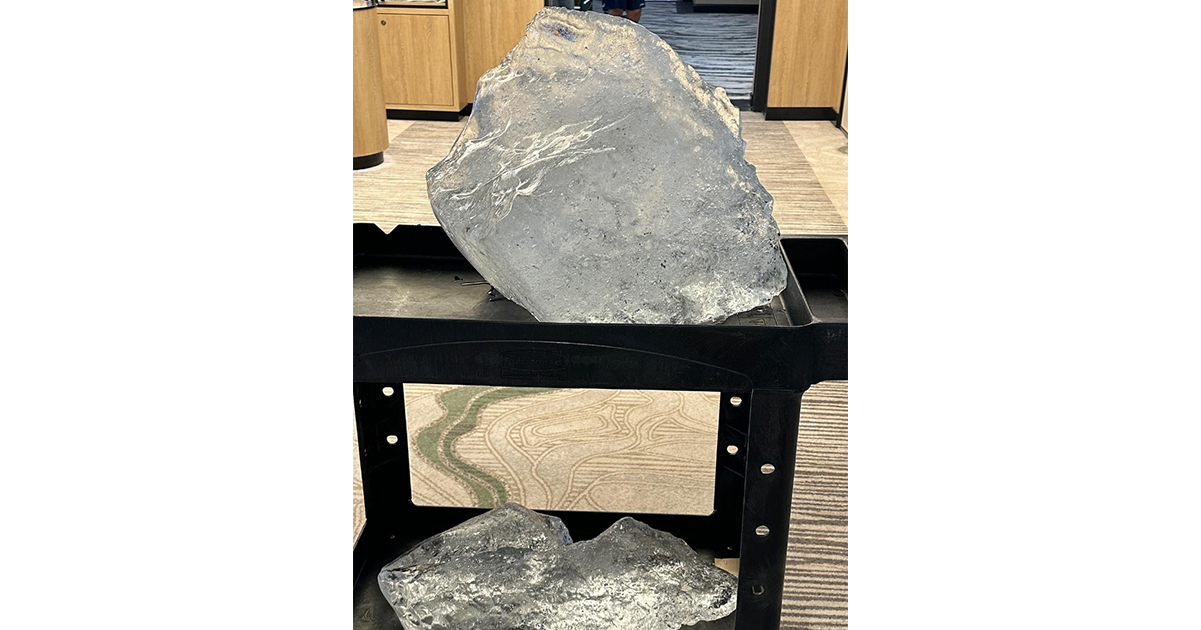
However, during her recent trip to the east coast of Greenland, she posted some photos and one of them made her fans mad.
It shows Stewart enjoying a cocktail, and the caption says, “End of the first zodiac cruise from @swanhelleniccruises into a very beautiful fjord on the east coast of greenland. We actually captured a small iceberg for our cocktails tonight.”
Her intention wasn’t probably to anger her fans with the word “small iceberg” for her drink, but it did evoke the ire of her followers.
In no time, comments started pouring in under her post with people hitting out at the fact that she’d referenced a small iceberg when the “ice caps are melting.”
“Martha the ice caps are melting don’t put them in your drink,” one Instagram user wrote.
Another added: “I generally love Martha and the excesses of her life because he’s about beautiful gardens, homes, and food, but wealthy white people drinking their iceberg cocktails while the planet is in flames is a bit tone deaf.“
“So as the climate warms due to the profits of a couple thousand people, billionaires vacation to the melting icebergs, scoop them up and use them to keep their cocktails cold. That sounds like a line from a dystopian novel. Can’t make this shit up lol,” a third quipped.
“Global warming and melting ice caps but we need glacier ice for cocktails?! Talk about tone def. Been a fan for years but I’ve seen enough caviar lately as I struggle to buy groceries that I’m out,” said a fourth.
In general, Martha is someone who is widely loved by many.
Speaking of the cover on Sports Illustrated for which she posed, she said on the Today show, “I didn’t starve myself, but I didn’t eat any bread or pasta for a couple of months.
“I went to Pilates every other day, and that was great; I’m still going to Pilates every other day ’cause it’s so great. And I just, I live a clean life anyway – good diet and good exercise and healthy skincare and all of that stuff.”
She also commented how fans responded to the “authentic” cover during her keynote speech at the Las Vegas event.
“The response to it was really encouraging because it made women of all ages feel like, ‘If she can do it, then I can do it too,’” Stewart noted.


Leave a Reply